

USB to RS485 Interface
Use an Android device and a USB to RS485 adapter to connect to OspreyBus sensors, configure serial settings, and send ASCII commands.
Use the ASCII protocol over USB
OspreyBus devices support an ASCII protocol that gives you a readable way to adjust common settings, take readings, and troubleshoot from a laptop or an Android mobile device.
Osprey products are preconfigured before shipping. Only experienced technicians should modify settings, and only in collaboration with Osprey Measurement Systems technical support.
Before you start
Tools
-
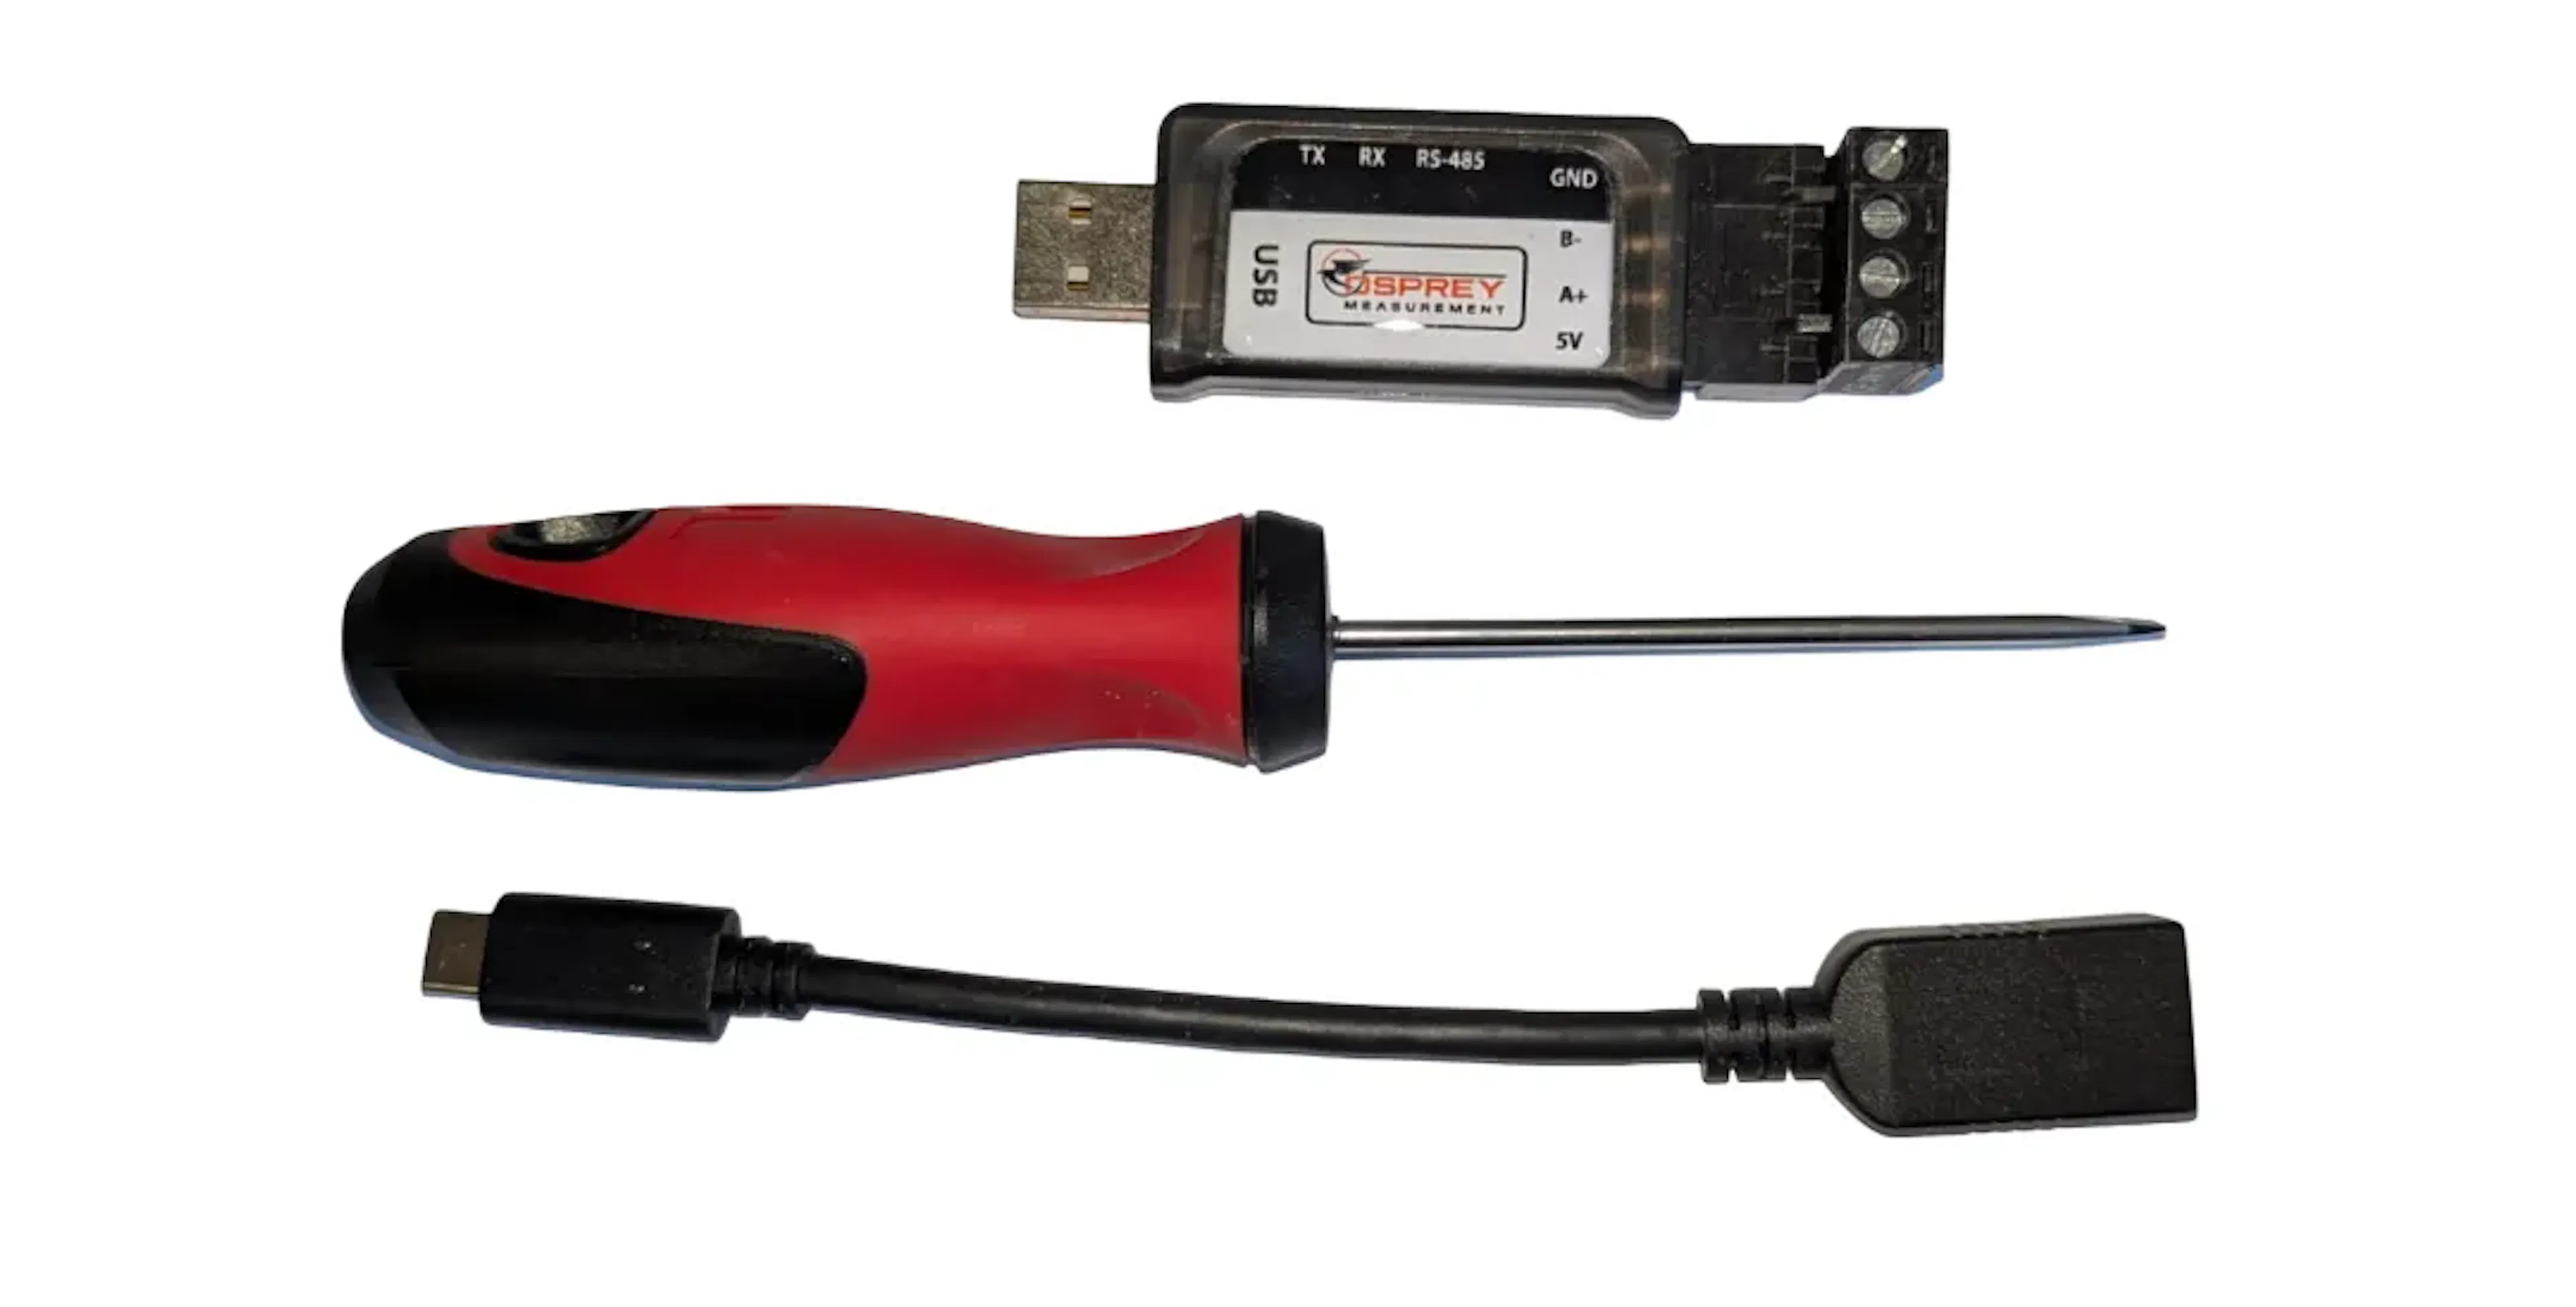
Android tablet or smartphone
-
Part
OSP-USBUSB to RS485 interface -
USB-A to USB-C adaptor
-
Terminal screwdriver
Software download
Install Serial USB Terminal for Android from the Play Store before connecting to the sensor string.

Connecting the sensors
Wire the sensor string to the USB to RS485 adaptor before opening the terminal app.
| Wire Colour | USB to RS485 terminal |
|---|---|
| Black | GND |
| White | B- |
| Blue | A+ |
| Red | 5V |
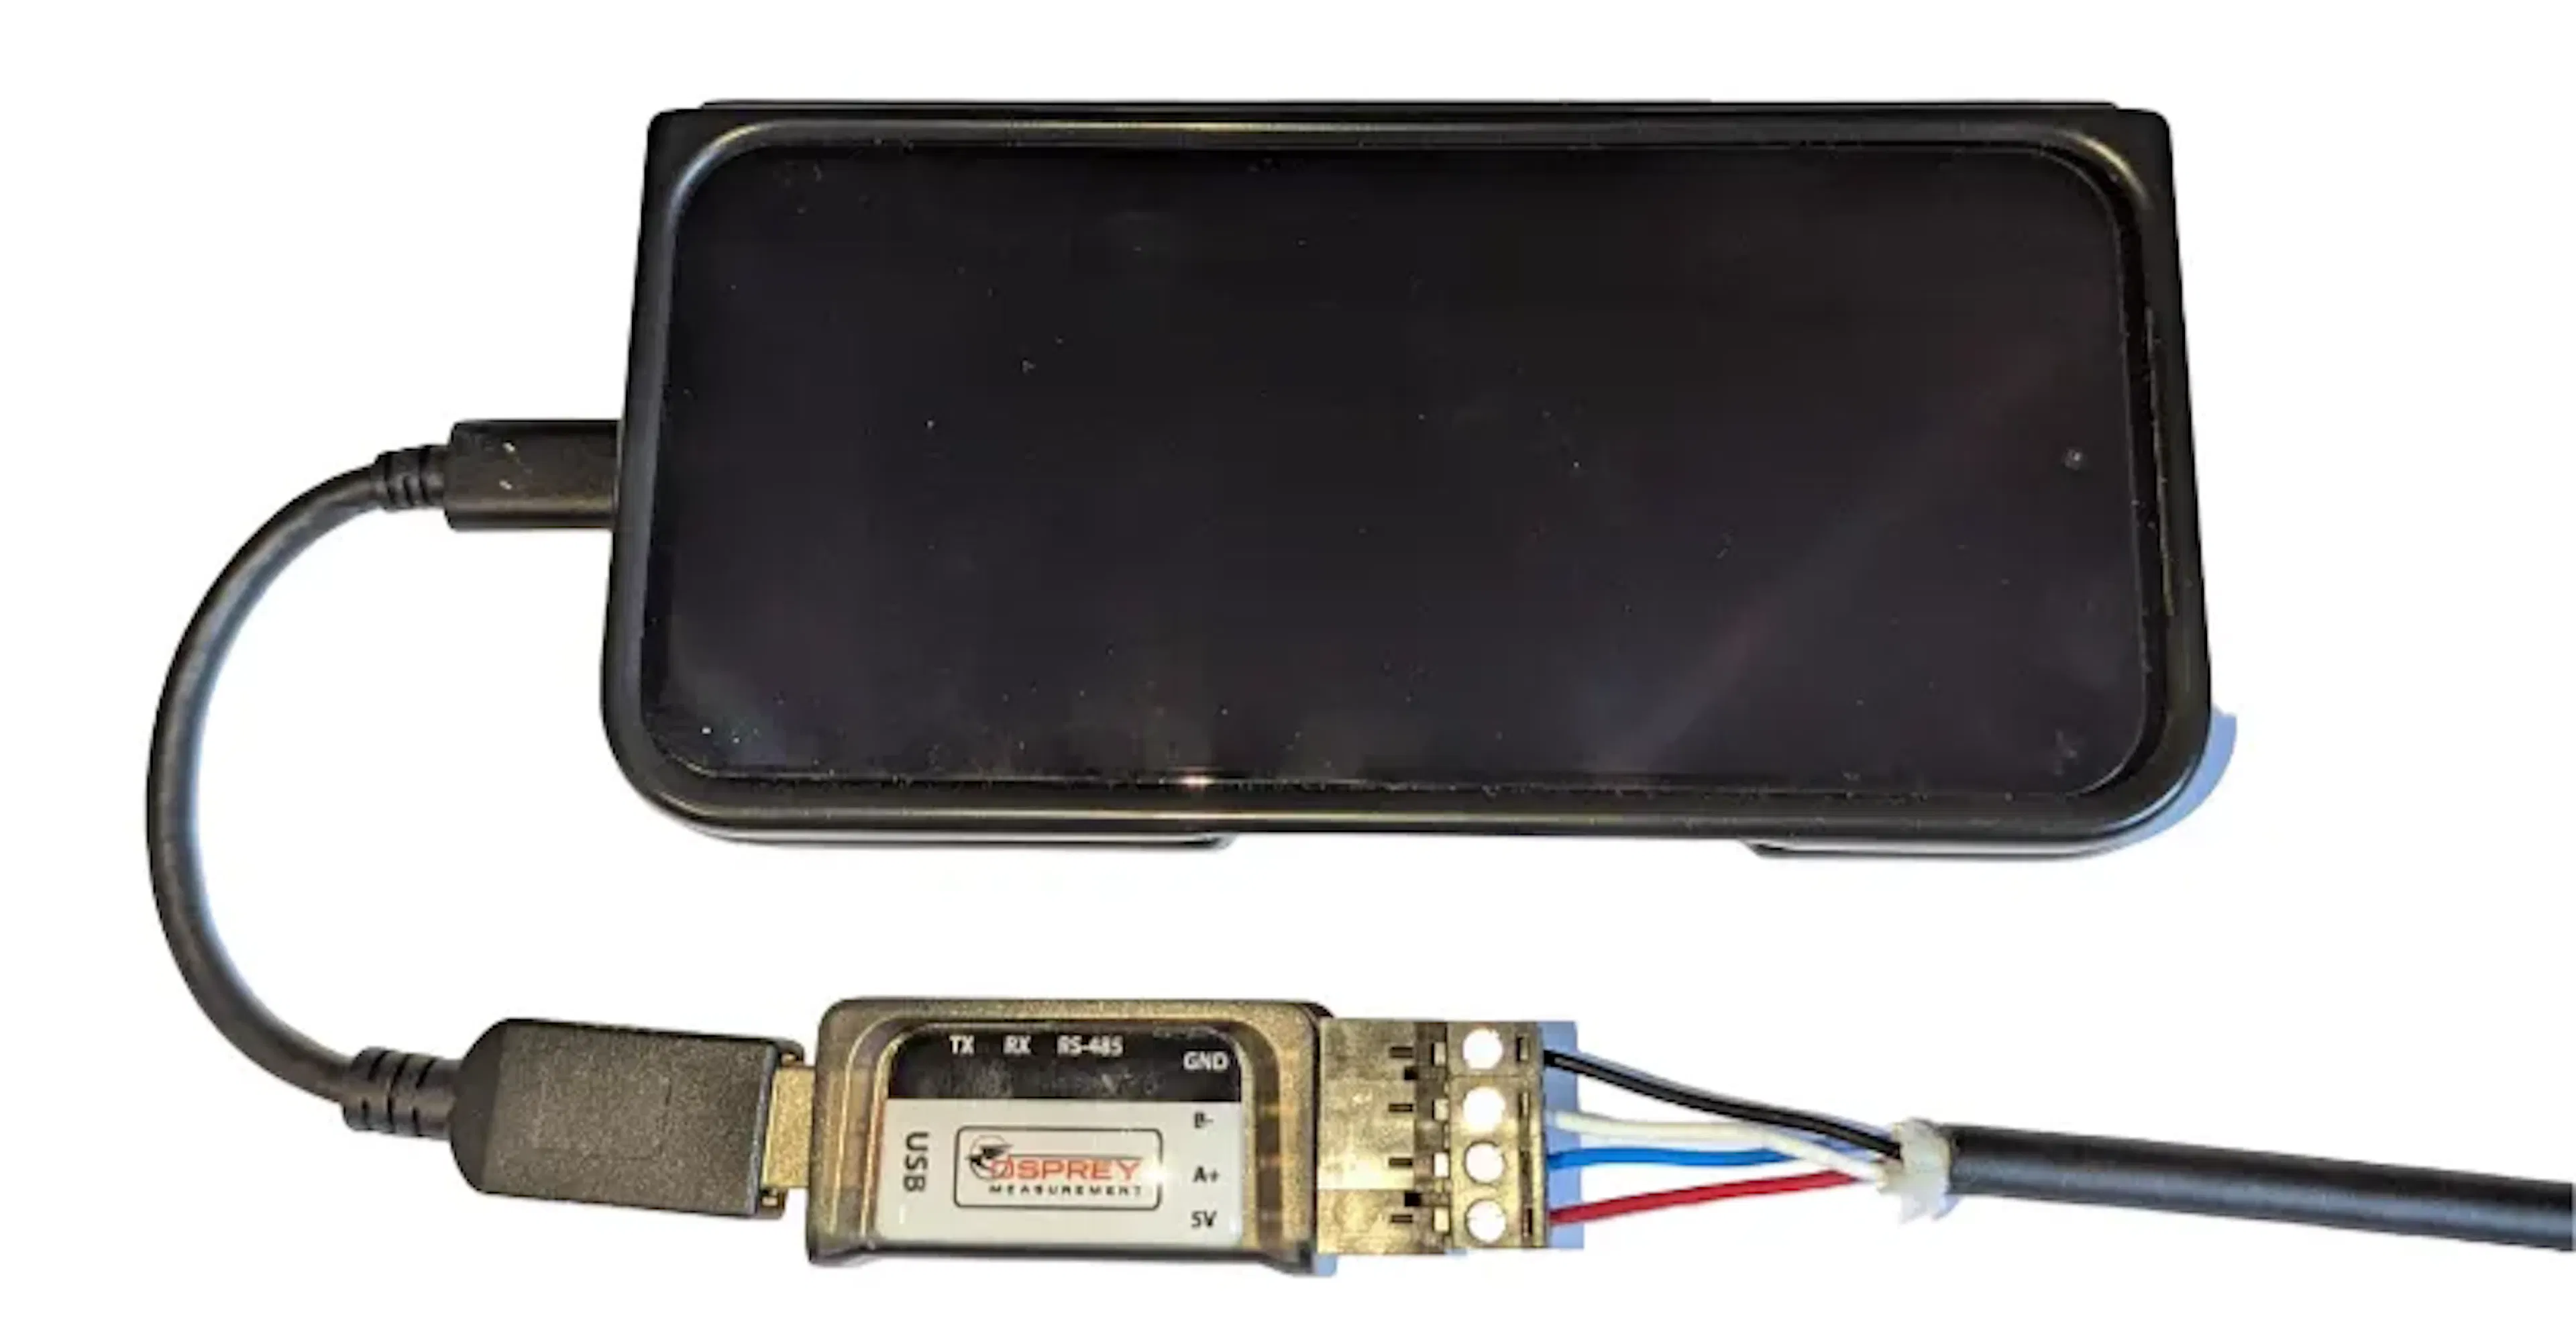
USB power is limited to 5V and may not be able to power strings longer than 10 sensors. If your sensor string is longer, use an external power supply.
Setting up Serial USB Terminal
When you plug the RS485 adaptor into your Android device, Serial USB Terminal should open automatically. If it does not, open the app manually and continue with the settings below.
Open the serial settings
From the main screen, open the hamburger menu, select Settings, then open the serial settings.
Apply the required connection values
Use these serial settings exactly.
| Setting | Value |
|---|---|
| Baud Rate | 9600 |
| Data Bits | 8 |
| Parity | None |
| Stop Bits | 1 |
| Flow Control | None |
| BREAK duration | 100ms |
Sending commands
Once the serial settings are saved, return to the main terminal screen and connect to the sensor string.
Return to the terminal
Go back to the main terminal screen in Serial USB Terminal.
Connect to the adapter
Select the connect button in the top-right corner. The icon appears as two unjoined connectors.
Send ASCII commands
Enter and send commands to the string of sensors.